How to Install Munder Difflin 0.5.6: A Beginner's Guide From Zero to a Working Office
Install Munder Difflin 0.5.6 on macOS, Windows or Linux: what you need first, which AI engine to pick, the sign in, the setup steps and a fix for each failure.
Pick one AI engine, by what you already pay for. Download Munder Difflin 0.5.6 and open it. Press Open browser to sign in and sign in, name your workspace and your orchestrator, then press Continue with the free version. Until Saturday 24 October 2026, Pro is free for everyone as part of the launch, so you go straight to Pro. If the engine is missing, the app offers to install it. About twenty minutes.
This is how to install Munder Difflin 0.5.6 when you have never used an AI coding tool. Most guides start three steps ahead of you. This one starts with what the thing is, and ends with a working office and a fix for every way setup can fail.
What is Munder Difflin?
Munder Difflin is free and open source: a desktop app that runs a team of coding agents such as Claude Code, Codex and Gemini CLI on your own computer.
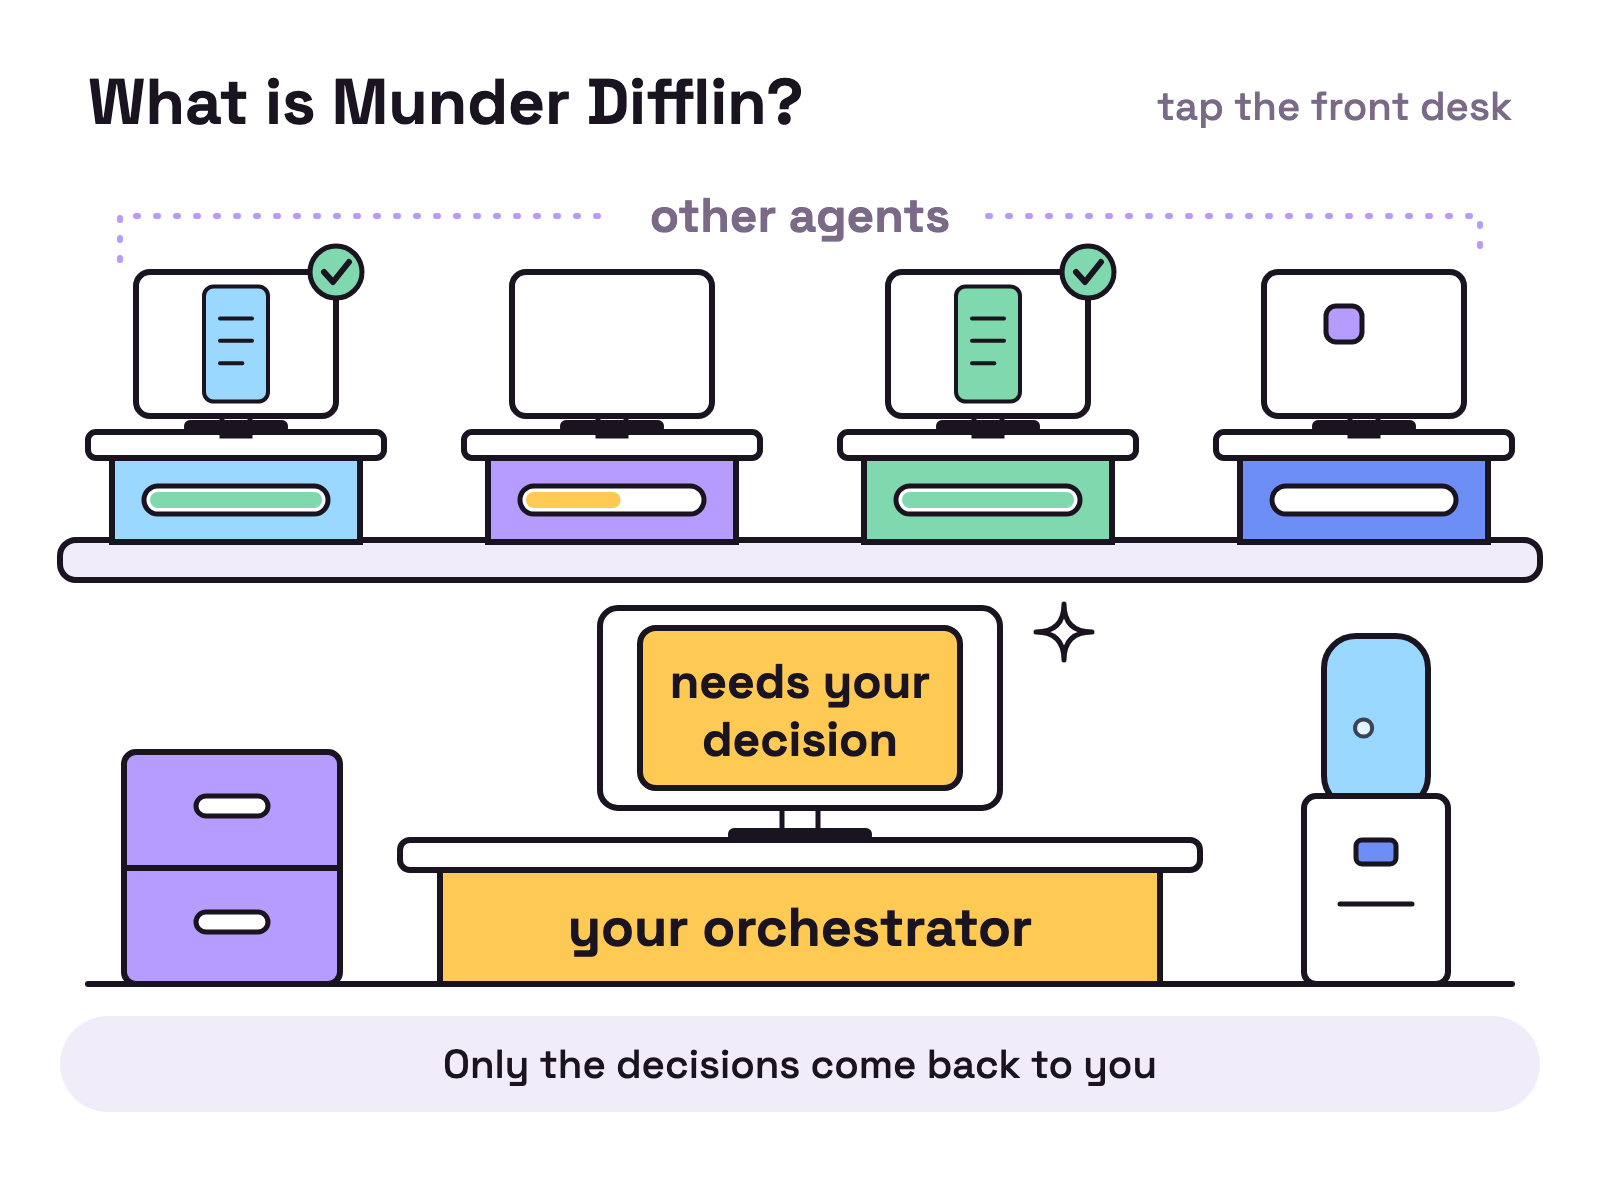
In plain words, it is a small office of AI workers. One of them is your orchestrator, the one you talk to. He is called Michael until you rename him. You give Michael a job, he splits it into pieces, hands the pieces to other agents and comes back to you only when something needs your decision.
It is not a chatbot. You do not sit there typing and waiting for replies. You brief Michael, go and do something else, and come back to finished work.
What is a coding agent, and what can it touch on your computer?
A coding agent is an AI that acts instead of only answering. Ask a chatbot a question and you get text. Give a coding agent a job and it reads your files, writes new ones, runs commands and checks its own work, in a loop, until the job is done or it gets stuck.
Each agent runs through a program called an engine: Claude Code, Codex, Antigravity and the others in this guide. The engine does the thinking. Munder Difflin is the office around a team of them: tasks, memory, schedules, messages, and when to come and ask you.
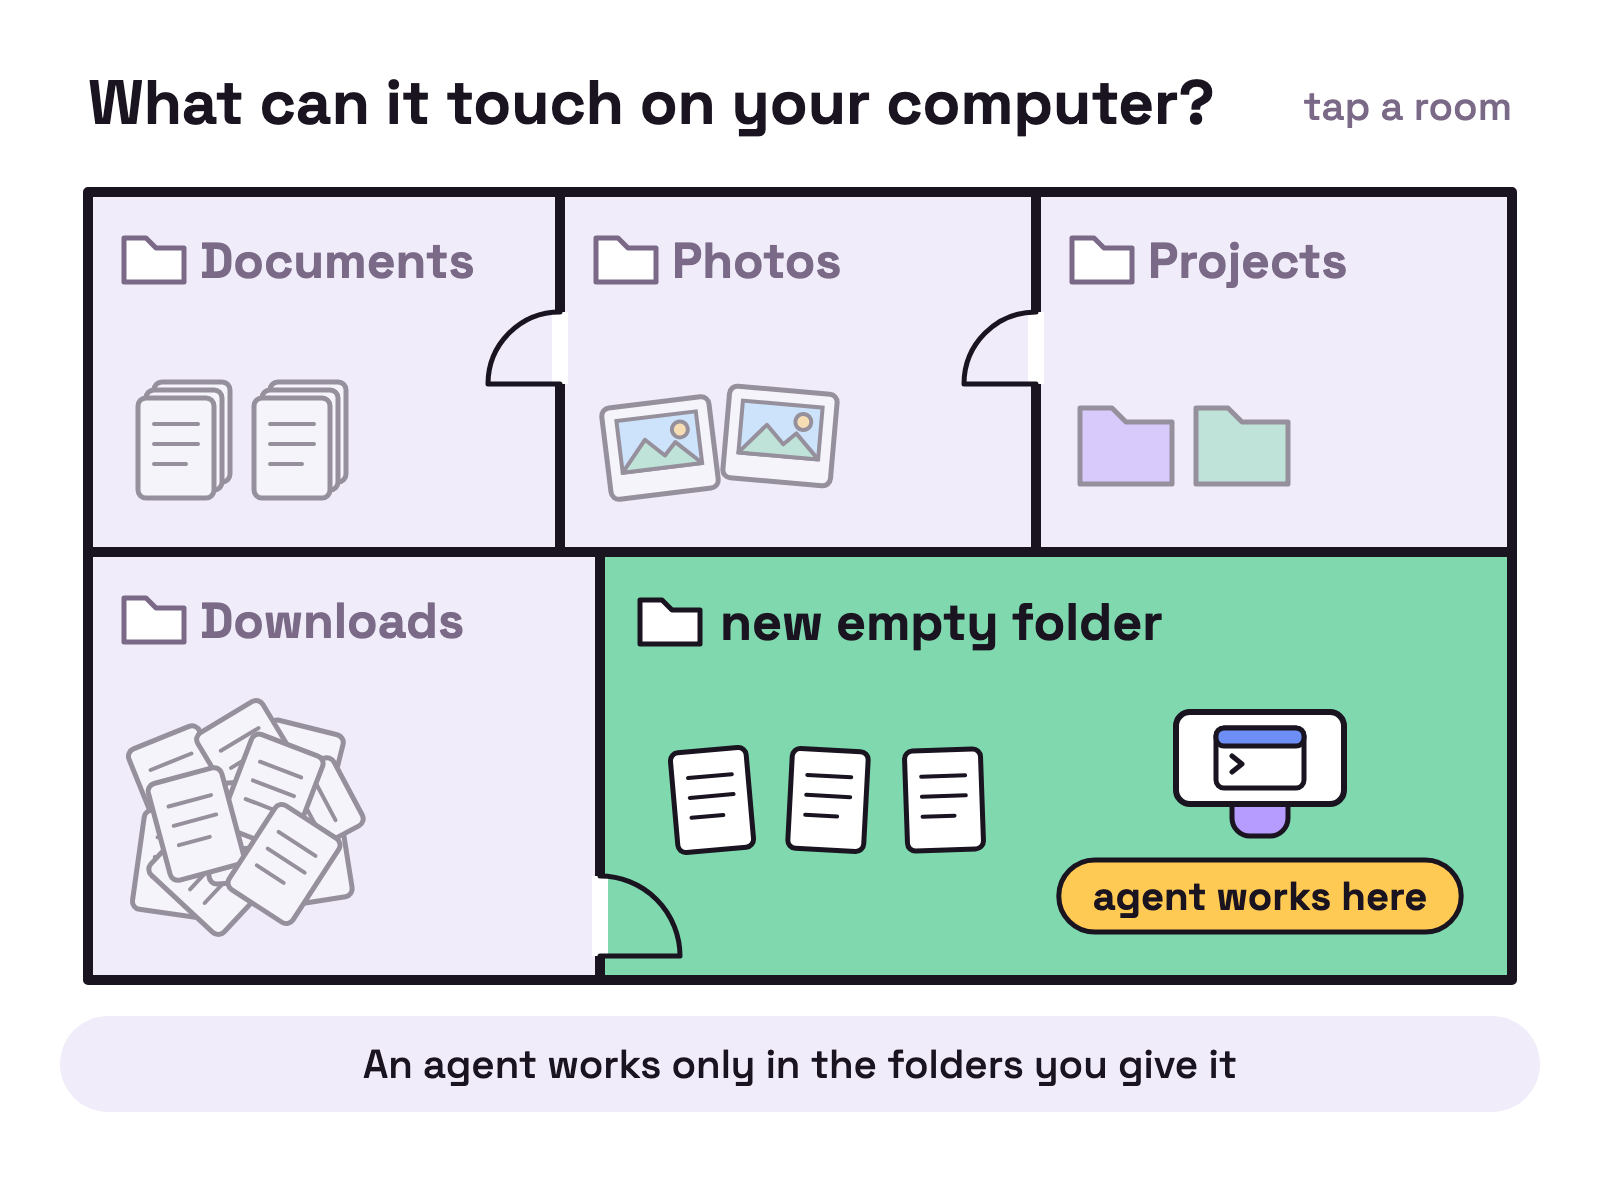
An engine runs with your own permissions. Anything you can do from your account, it can do: open files, change them, delete them, run software. That is why it is useful, and why you should be deliberate. Three things keep it sane:
- You choose the folder. An agent starts in the folder you give it. It is not locked in there, so do not make your first one your whole home folder.
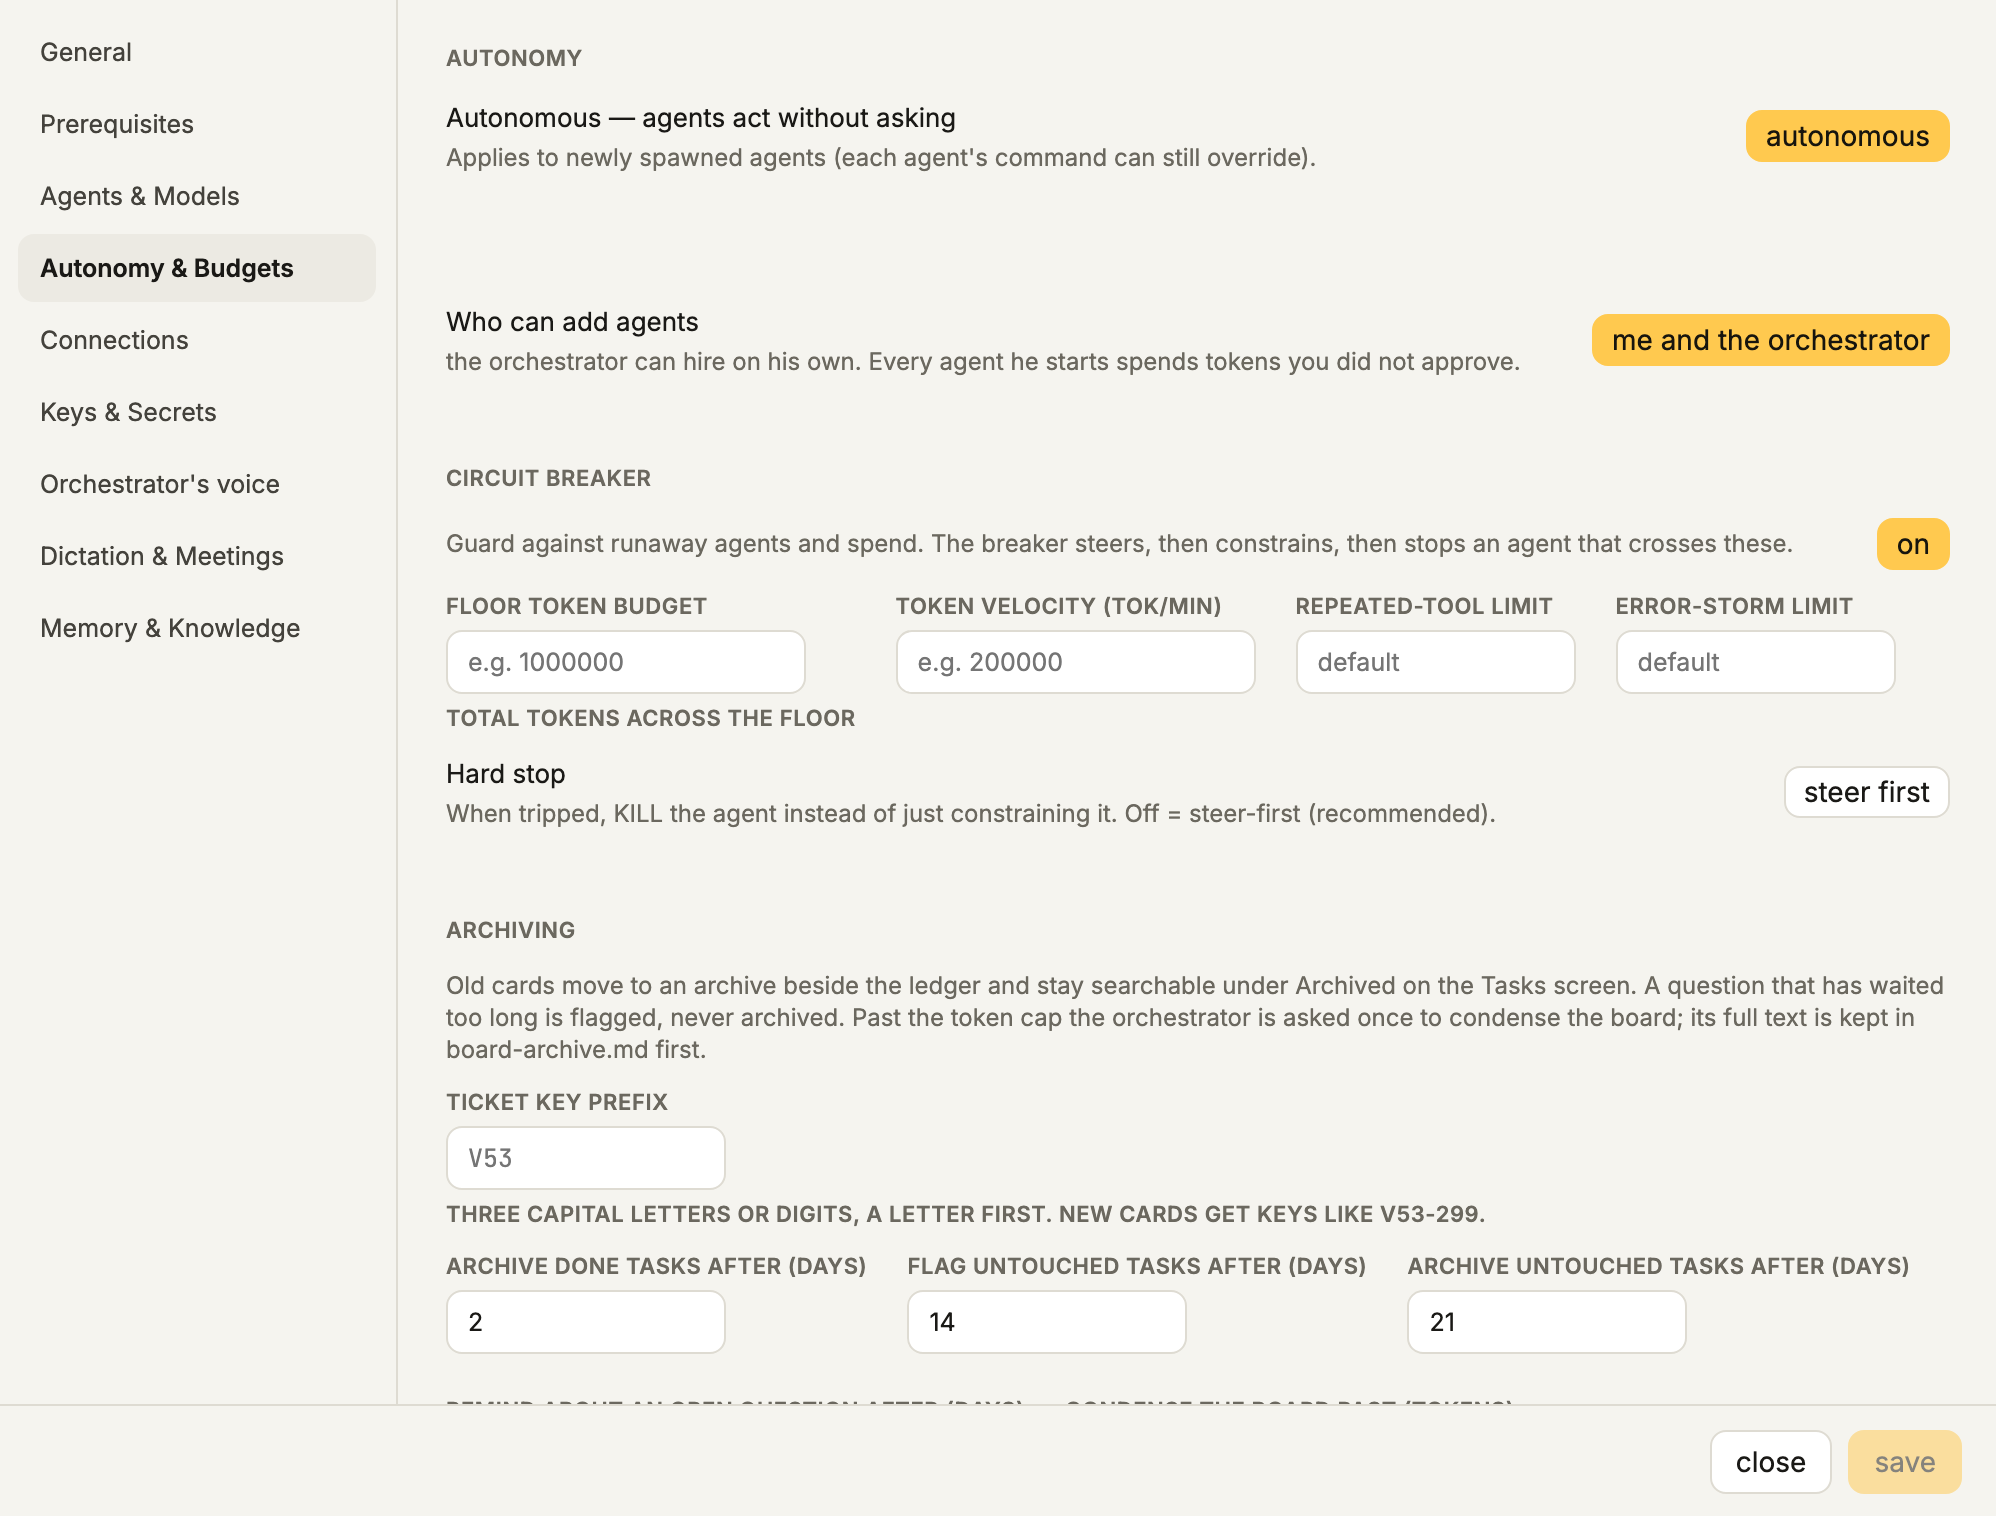
- You choose how much freedom they have. Whether agents act on their own or stop and ask is a setting: Settings, then Autonomy & Budgets. A new install starts on autonomous: agents act without asking. Look at it before your first real job.
- You can watch. Every agent has a live terminal you can open and watch.
What do you need before you install?
Less than you would think. The app itself needs nothing else installed.
- A computer. macOS on Apple Silicon or Intel, Windows 10 or 11 (64 bit), or a modern 64 bit Linux.
- An email address. The first launch asks you to sign in, on the free version as well.
- One AI engine, signed in. You can install it now with one command, or let the app install it later. Either way you sign in to the engine yourself, with your own subscription or key.
Good to have, and you can add them after setup: git, and two small tools called uv and MemPalace that let agents search their memory by meaning. The app checks for these, and for Node, under Settings, then Prerequisites.
Which AI engine should you pick?
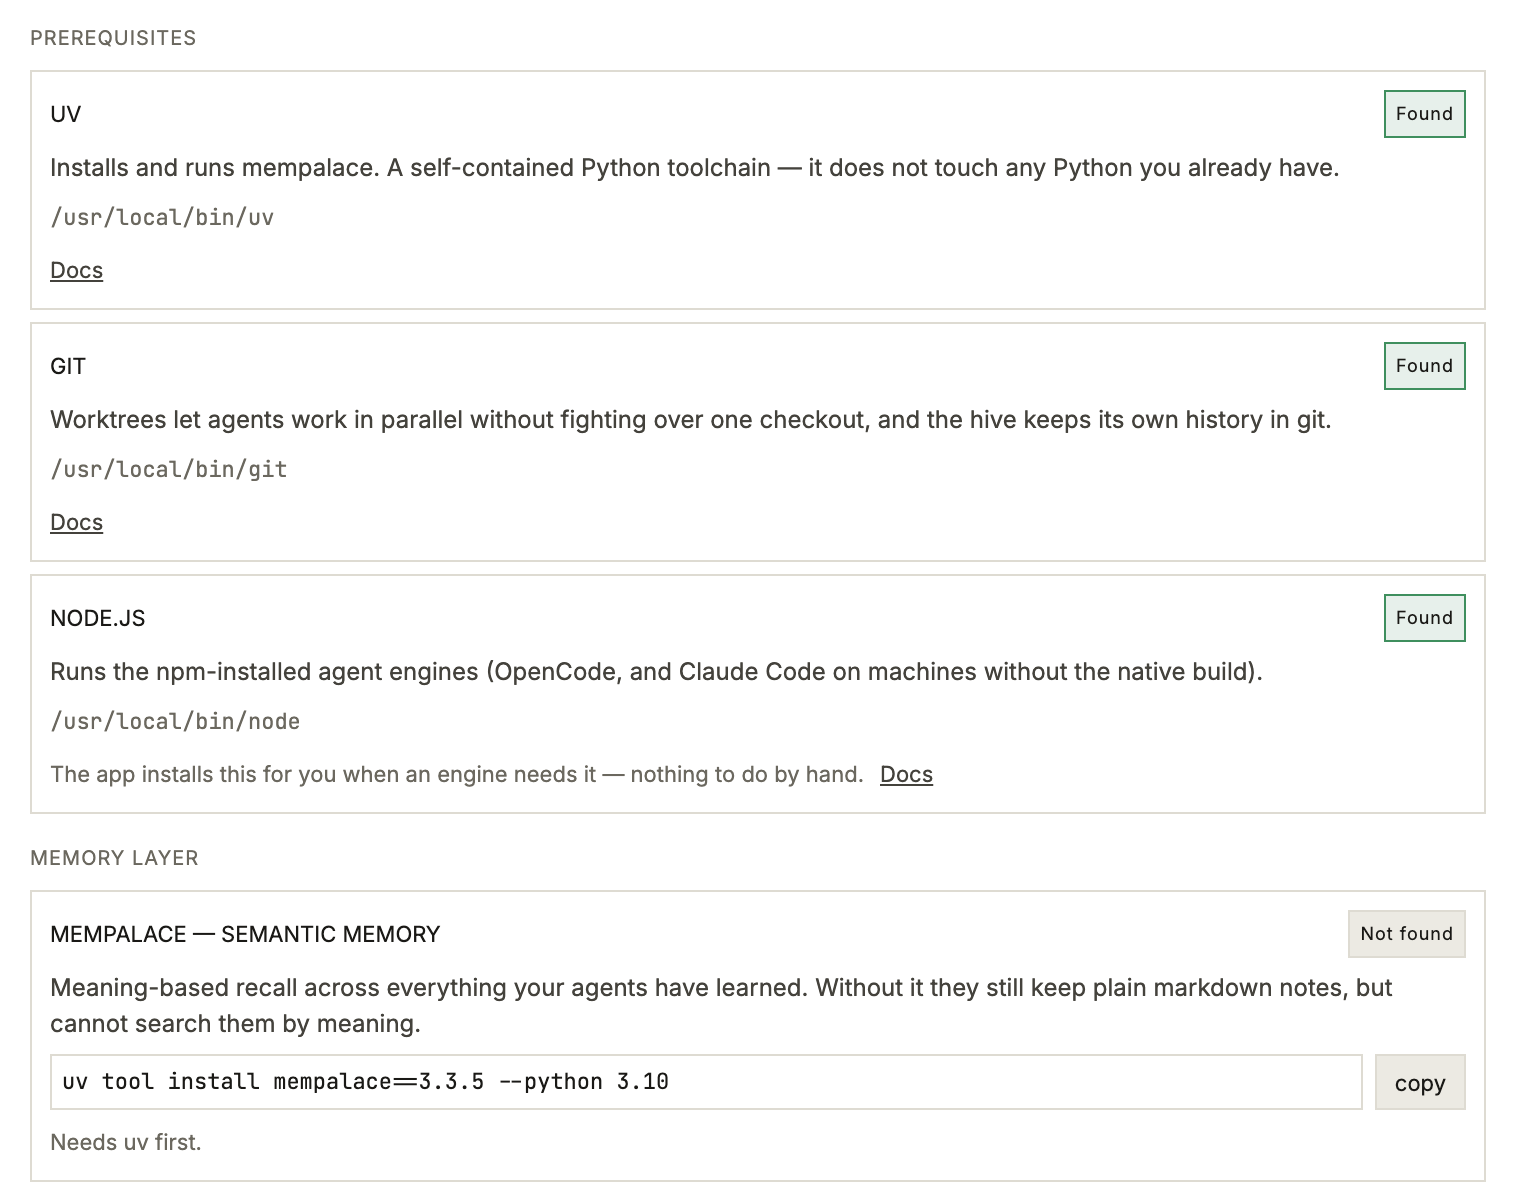
Munder Difflin does not include an AI. It drives one you install. It supports twelve engines plus a custom one, and you need exactly one to start. What you already pay for usually decides it.
- You pay for Claude: use Claude Code. It is the app’s default engine.
- You pay for ChatGPT: use Codex.
- You pay for nothing: use Antigravity, Google’s coding tool, whose command is
agy. - You already have a key from an AI provider: use OpenCode, which is open source and runs on the provider and model you choose.
Each of the other engines has its own sign in, and the app can install them for you. Pick one only if you already use it.
| Engine | Command | Installs with |
|---|---|---|
| Gemini CLI | gemini |
npm |
| Qwen | qwen |
npm |
| Crush | crush |
npm |
| Pi | pi |
npm |
| Copilot | copilot |
npm |
| Grok | grok |
its own installer |
| Kimi Code | kimi |
its own installer |
| Cursor | cursor-agent |
its own installer |
You can add more engines later and run several at once, with different agents on different engines. The Gemini CLI install guide has that engine’s steps.
How do you install an engine and sign in?
Open a terminal and paste the lines for your engine one at a time, pressing Enter after each. A terminal is a plain text window for typing commands. On macOS press Cmd+Space, type Terminal and press Enter. On Windows press Start, type PowerShell and press Enter.
Claude Code (a Claude subscription). macOS and Linux:
curl -fsSL https://claude.ai/install.sh | bashWindows PowerShell:
irm https://claude.ai/install.ps1 | iexOn any system, close the terminal and open a new one, then run claude once and sign in when the browser opens.
Codex (a ChatGPT subscription). macOS and Linux:
curl -fsSL https://chatgpt.com/codex/install.sh | shWindows PowerShell:
powershell -ExecutionPolicy ByPass -c "irm https://chatgpt.com/codex/install.ps1 | iex"Codex can also install through npm, which comes with Node: npm install -g @openai/codex. Check Node with node --version; the app wants version 20 or newer. If you see an error such as “command not found” instead of a number, you have no Node: get the LTS build from nodejs.org, then close the terminal and open a new one.
Then close the terminal, open a new one and run codex. The first codex opens a sign in; choose to sign in with ChatGPT. How to install Codex CLI covers Windows and updates.
Antigravity (no subscription). macOS and Linux:
curl -fsSL https://antigravity.google/cli/install.sh | bashWindows PowerShell:
irm https://antigravity.google/cli/install.ps1 | iexThen close the terminal, open a new one, run agy and sign in with a Google account.
OpenCode (a key from an AI provider you choose; you pay that provider). The second line asks which provider and takes the key:
npm install -g opencode-ai@latest
opencode auth login
To check any of them, ask for its version, for example claude --version. A version number means you are done with the terminal.
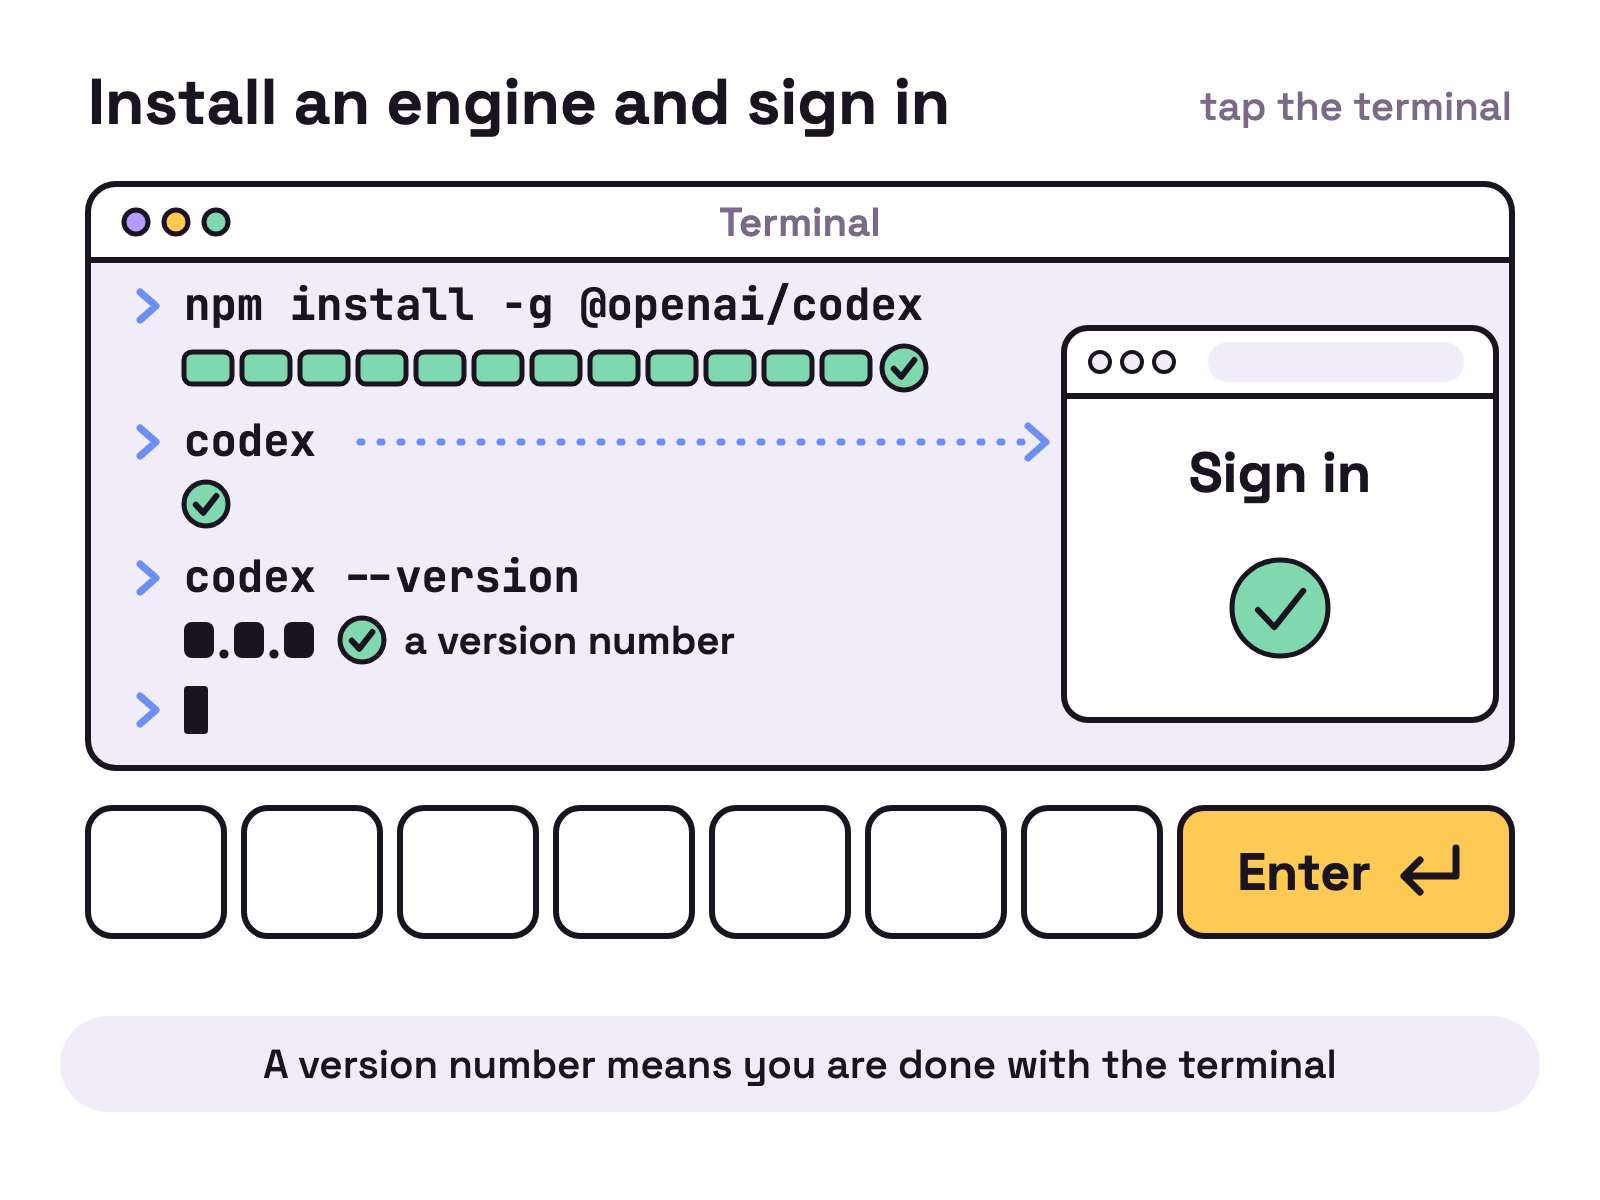
Installing an engine is not the same as signing in to it. Run its command once and finish the sign in. Otherwise the agent cannot start. For Claude Code, Codex and Cursor the app shows Sign in needed.
Or let the app install it
You can skip the terminal. Setup marks every engine Installed, Installs on first start or Not installed. When you start an agent whose engine is missing, the app says so and offers an Install button. Nothing installs until you press it.
The app uses the first route that can work on your computer: npm; Node and npm together if Node is missing; the engine’s own installer; else a manual route with a link to the docs. The sign in is still yours to finish, in that agent’s terminal.
How do you download and install Munder Difflin?
Get the file for your system from the download page.
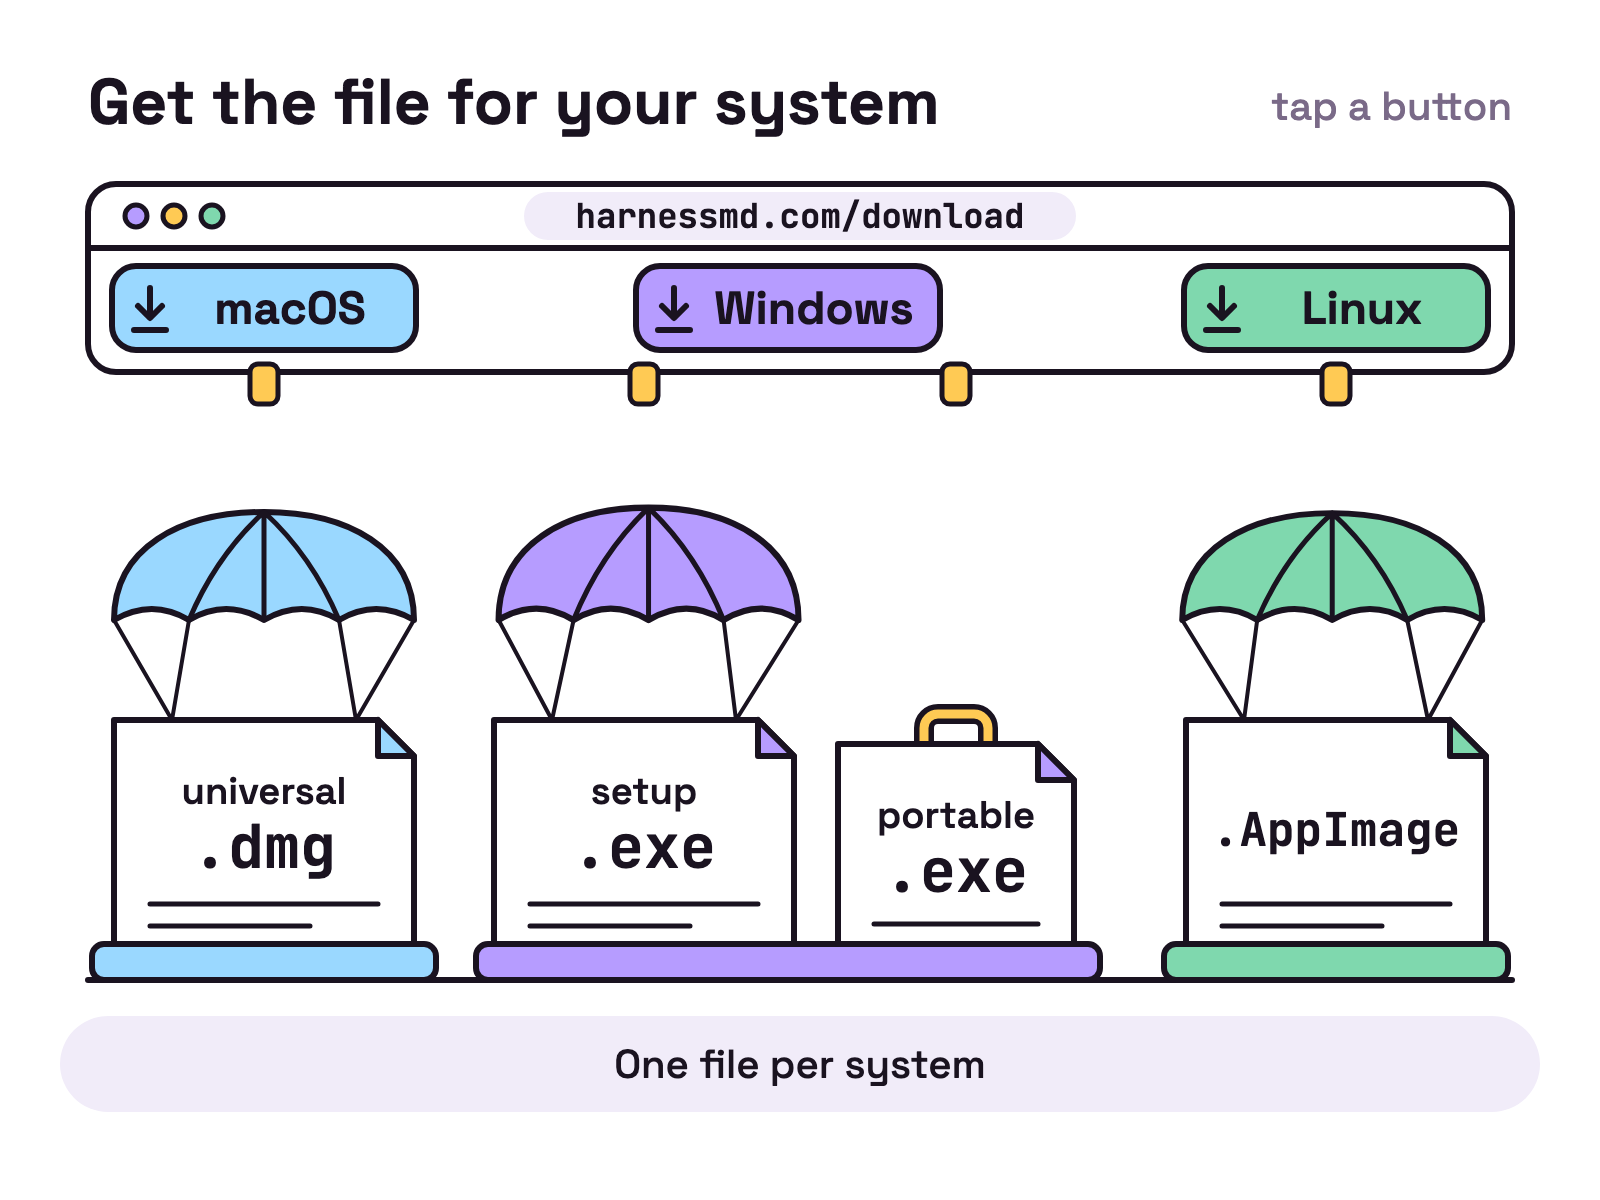
- macOS. One universal
.dmgfor Apple Silicon and Intel, signed and notarized by Apple. Open it and drag Munder Difflin into Applications. If macOS still refuses to open it, try to open it once, then open System Settings, then Privacy & Security, press Open Anyway within the hour and enter your password. - Windows. Run the setup
.exe. It installs for your user only and lets you pick the folder. There is also a portable.exethat needs no installing. - Linux. Mark the
.AppImageas executable (chmod +xon the file), then run it.
Optional: to confirm the download arrived intact, compare its checksum with SHA256SUMS-v0.5.6.txt, published with the release. Run shasum -a 256 on your download on macOS, sha256sum on Linux, or Get-FileHash in PowerShell, and compare the value with that file’s line.
What happens the first time you open it?
Setup has four steps. The words in bold are the words on the screen.
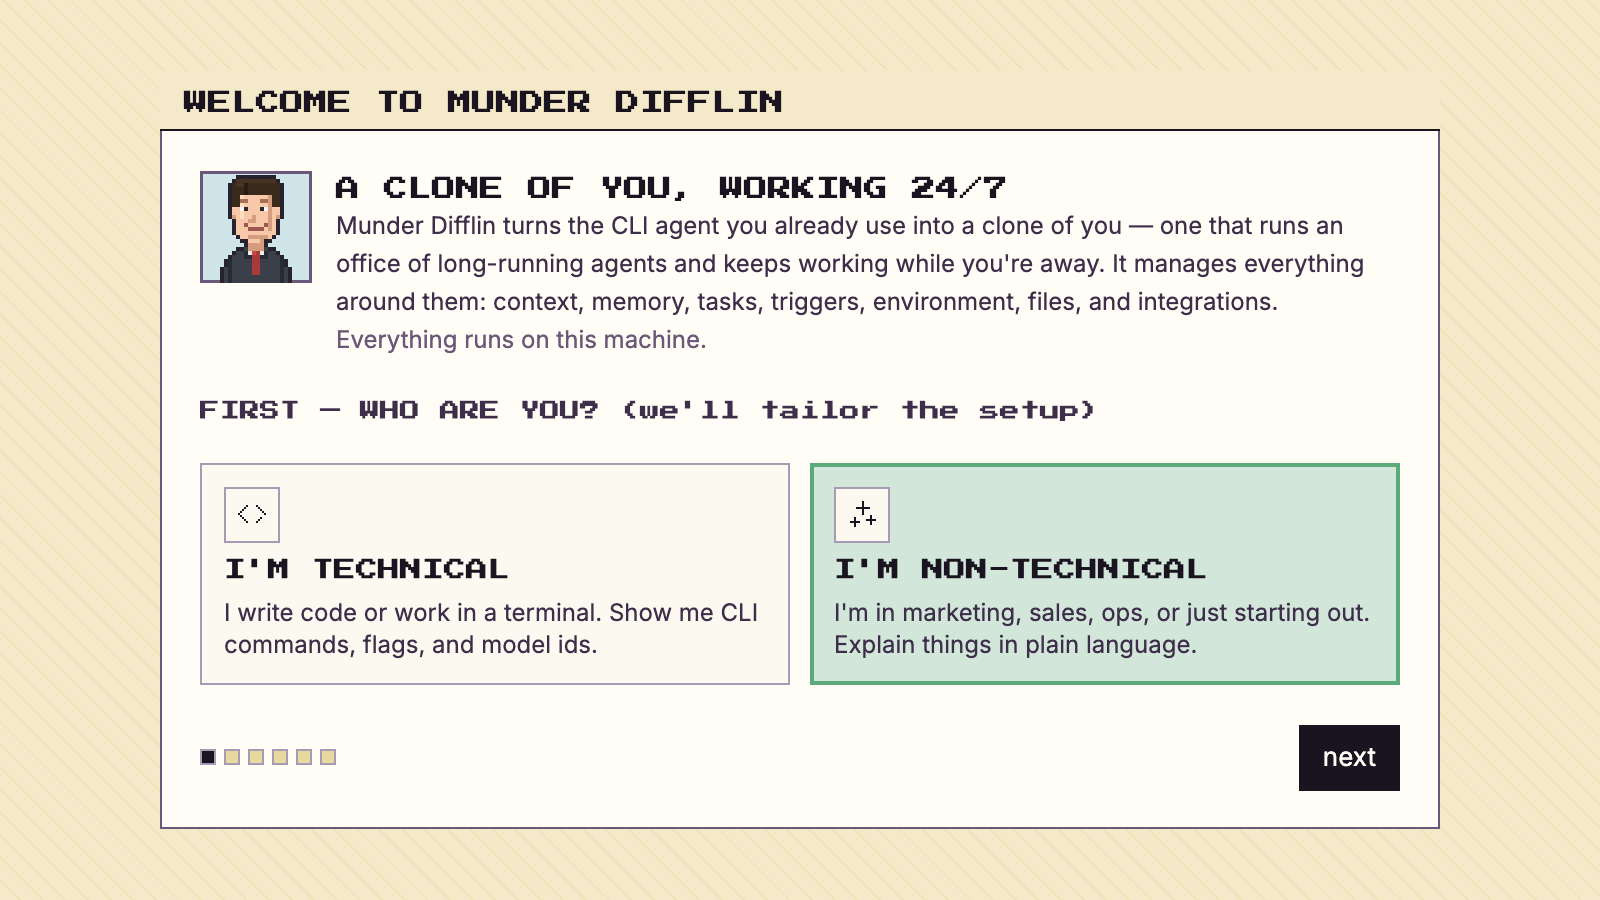
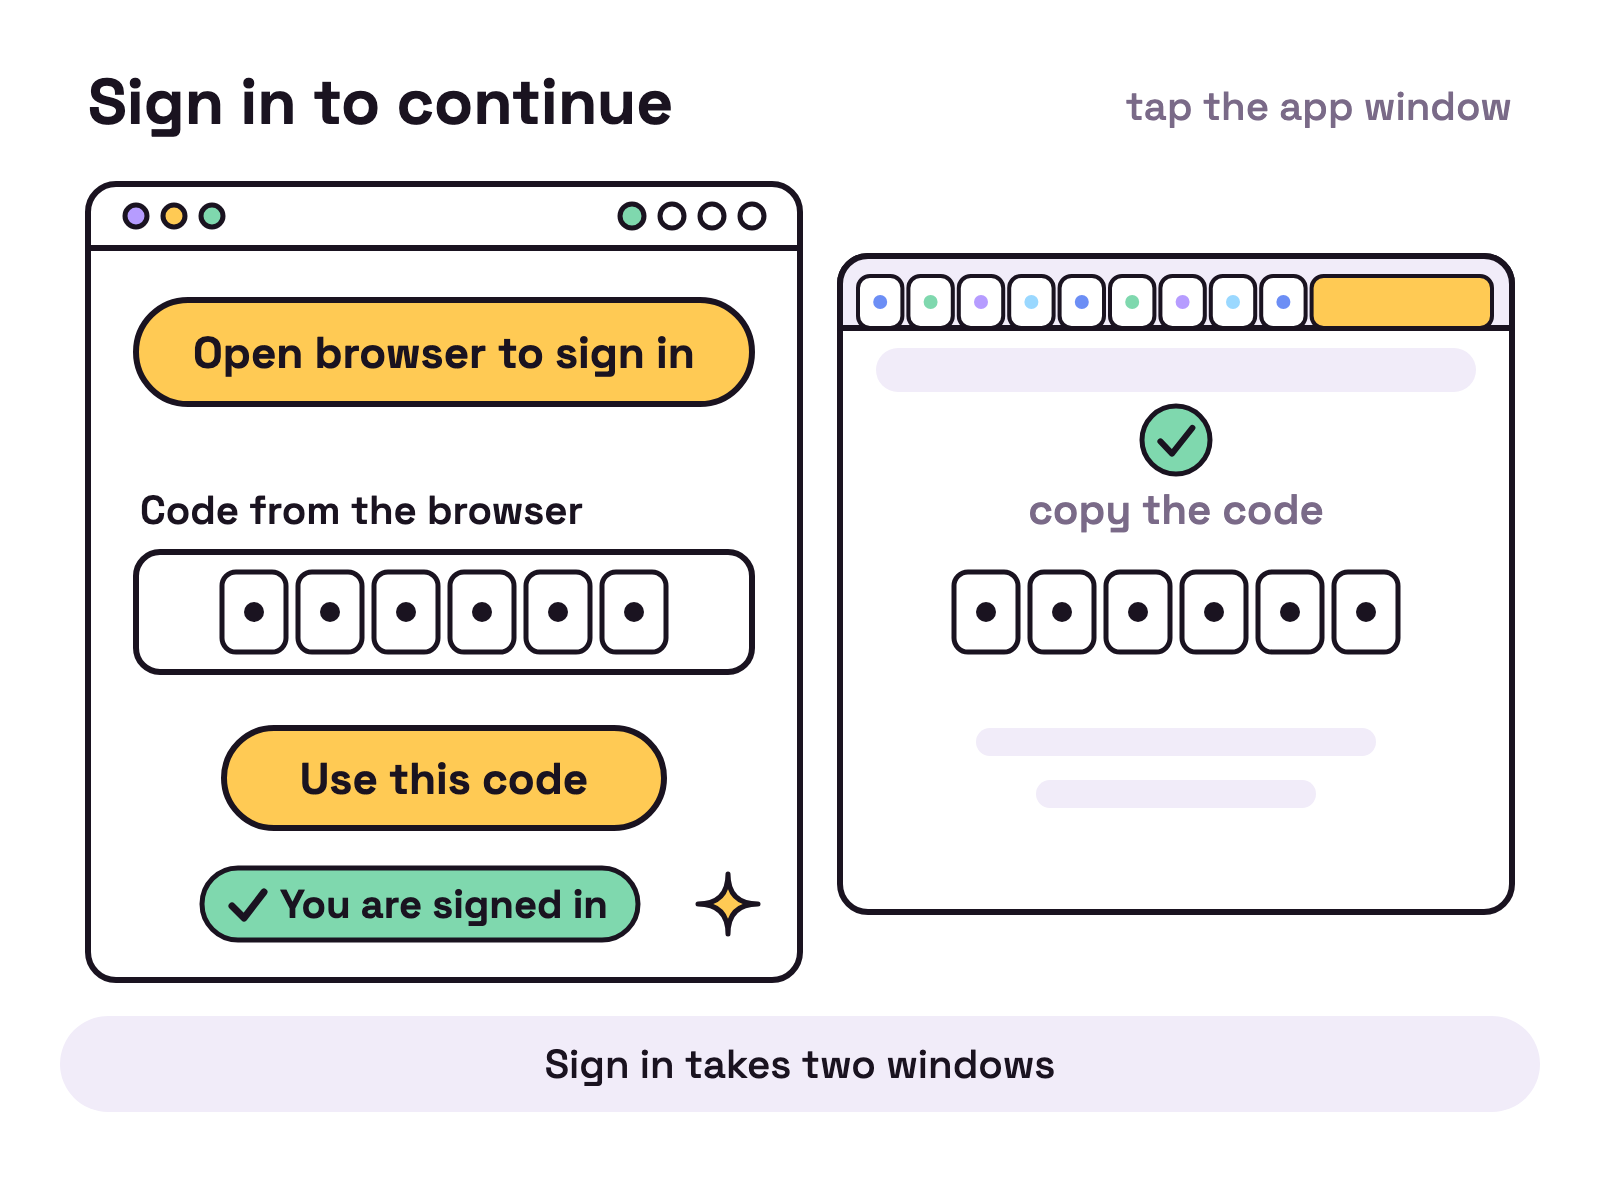
- How are you using Munder Difflin? Pick On my own, or With my team if someone sent you an invite code (a team code, not the sign in code below), and press Continue. Then comes Sign in to continue: press Open browser to sign in. The browser never opens by itself. Sign in there. The screen usually moves on by itself. If it does not, copy the code the browser shows, switch back to the app, paste it into Code from the browser and press Use this code. You see You are signed in; press Continue.
- Name your workspace. The default name is
HarnessAgents. Everything your agents do lives in this one folder: their work, memory, tasks and history. Browse picks where it goes. The name cannot hold a space, and the app offers a fixed one if you type a space. This step also asks whether you are technical or non-technical. - Meet your orchestrator. Name him and pick his engine. The engine you pick shows Installed, Installs on first start or Not installed.
- A last look at him. Press Open the workspace, and you are in.
Until Saturday 24 October 2026, Pro is free for everyone as part of the launch. Once you sign in, the app opens the Pro view with no licence and skips the screen below. From Sunday 25 October it is back.
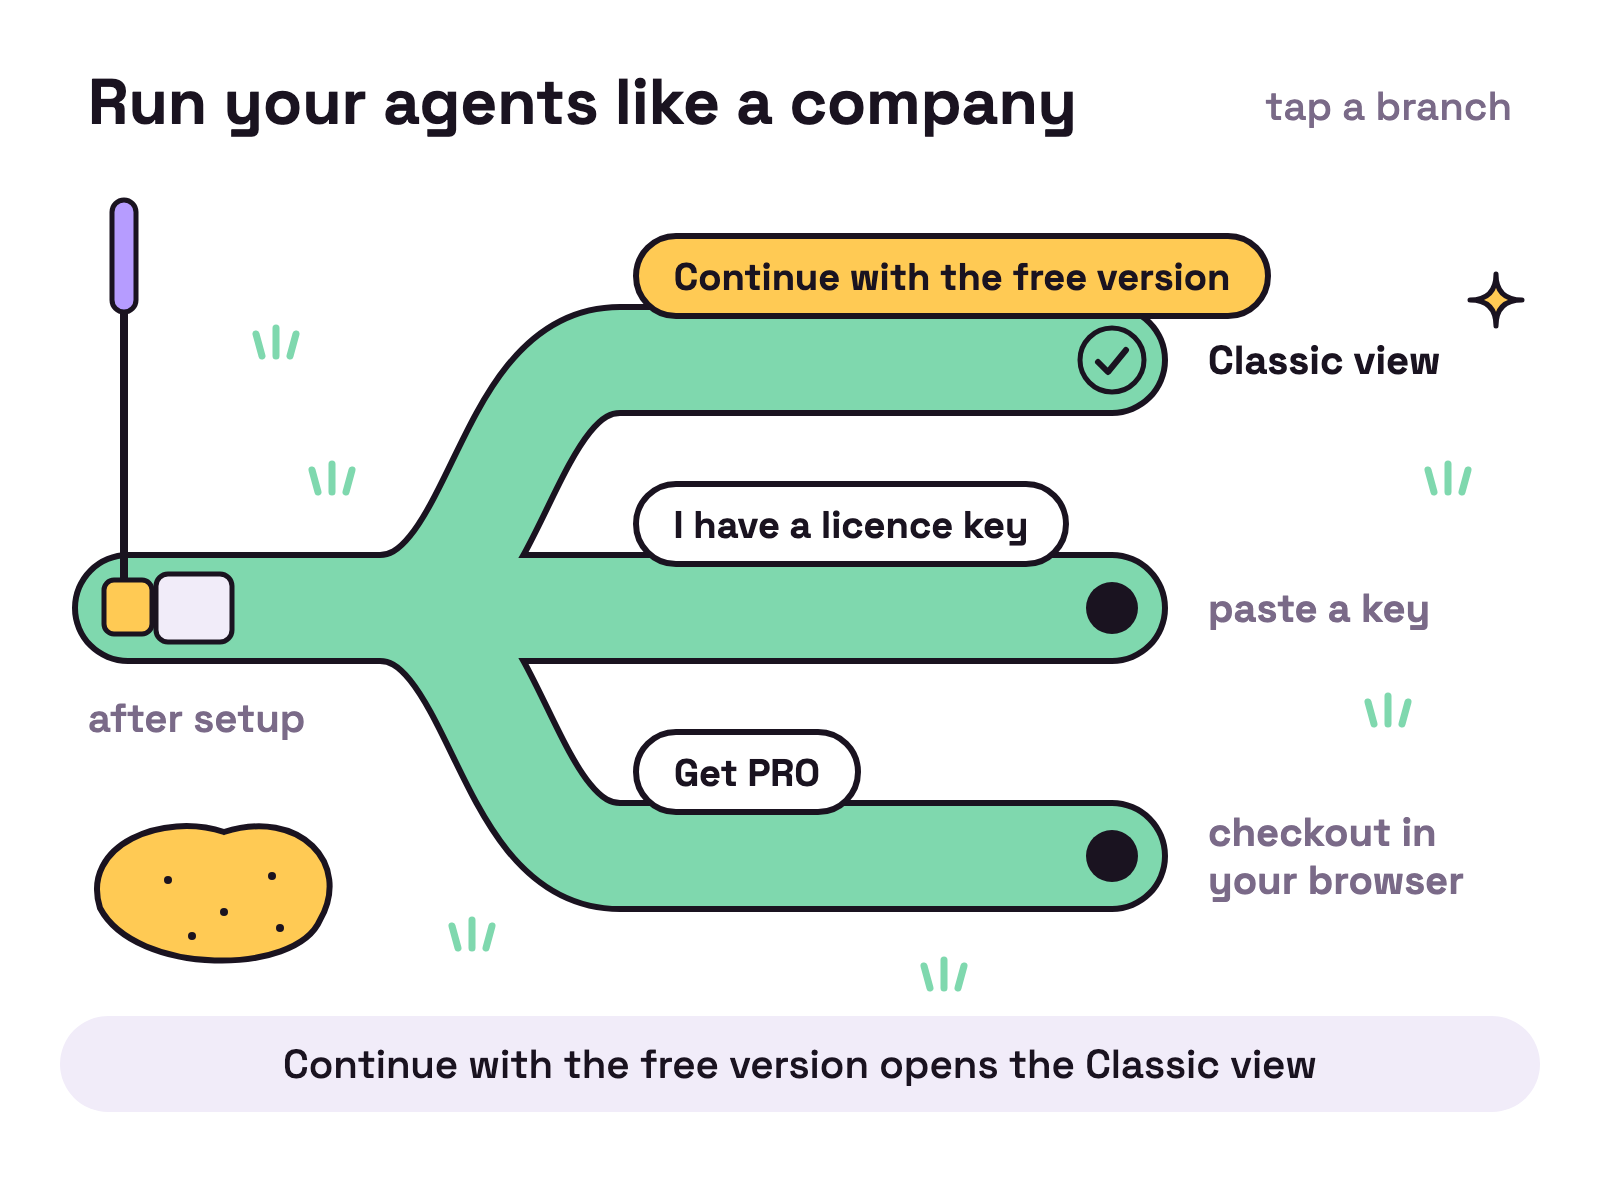
Then comes the screen that stops people: the Pro sales screen, Run your agents like a company, with three buttons.
- Continue with the free version opens the Classic view. This is the one you want if you have no licence.
- I have a licence key lets you paste a key.
- Get PRO opens the checkout in your browser.
Classic is the free view: the office floor. The Pro view adds one window with screens for Tasks, Inbox, Automations, Memory and Capabilities, plus the Stapler, a small window above every app. You can move between the two later with the switch in the title bar, Classic and PRO. Without a licence the second one reads TRY PRO, and pressing it brings back this screen.
What do you do in your first ten minutes?
You are in the office. Your orchestrator is there, and nobody else yet. Talk to him the way you would brief a capable new hire: the outcome, the folder, and what done looks like.
Weak: “organise my files”
Better: “Look in my Documents/receipts folder. Sort every PDF into folders by year, using the date inside the document, not the file name. Tell me about any file you cannot read.”
Your orchestrator decides whether he needs help, and hires it. A new agent appears at a desk. When you hire one yourself, you pick its face from fifteen built in avatars. Click any agent to open its terminal and watch it work.
When that works, your first hour covers teams, schedules, Slack and the Pro screens. For ideas, every agent on our own floor shows the jobs we give ours.
What is the IDE button for?
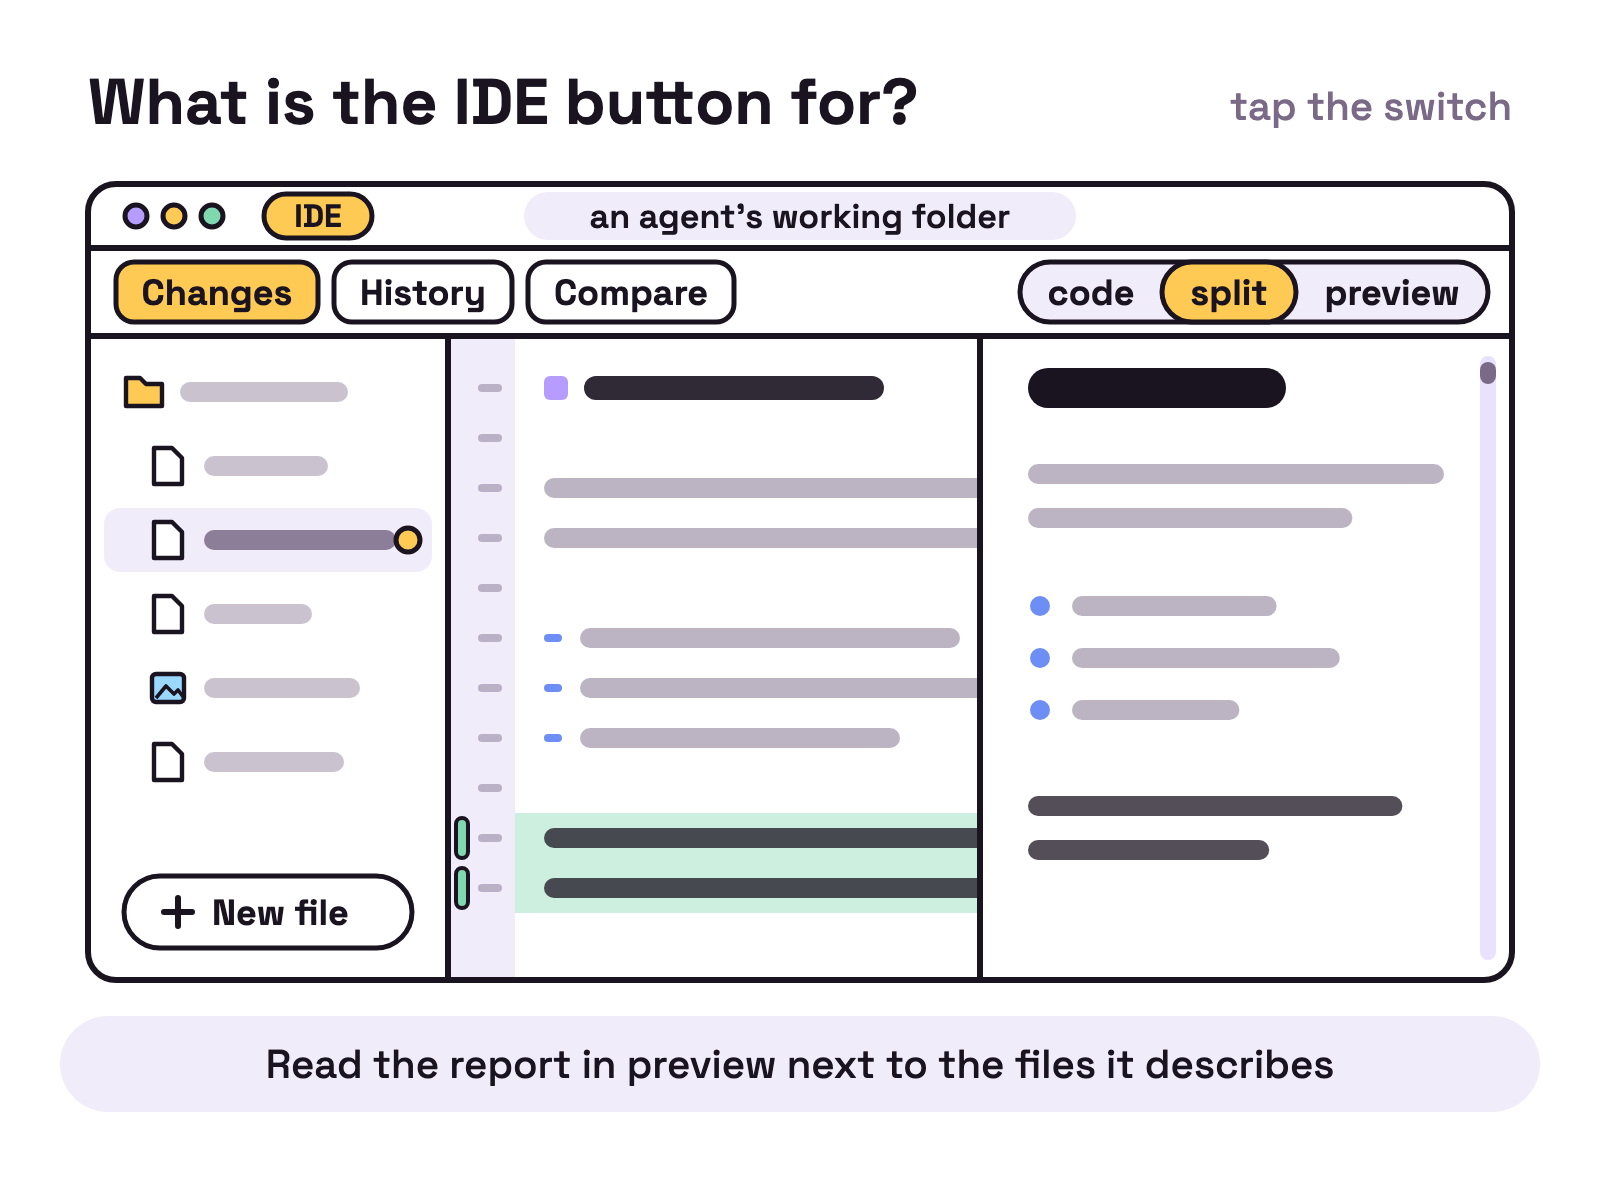
Click an agent and press IDE in its panel. The button opens a code editor on that agent’s working folder, inside the app. Use it to see what an agent just did without leaving the office.
- Open, edit and save any file, or make a New file.
- See what the agent changed: Changes, History and Compare.
- Preview Markdown files, the plain text format agents write reports in, as code, split or preview.
- Open images.
It is the quickest way to check an agent’s work. Ask for a report, open the IDE and read the report in preview next to the files it describes.
What can you add after setup?
Almost everything. Setup asks for the minimum, and the rest lives in Settings.
- Prerequisites shows whether each engine and helper tool is installed.
- Agents & Models is where a second or third engine comes in.
- Autonomy & Budgets holds how much agents may do alone, their budgets, and whether temps (short lived agents for one job) may be started.
- Connections is Slack and the other ways work arrives from outside. The Slack guide walks through it.
- Memory & Knowledge covers what agents remember. Search by meaning needs
uvand MemPalace. - Keys & Secrets is where saved keys live. OpenCode, Crush, Pi and Qwen take a key; Claude Code and Codex use their own sign in.
In Pro, the Integrations row in the sidebar puts Slack, webhooks, the apps your agents use and your keys in one place, each with a plain status and the last 50 things that happened. Nothing saves until you press Save.
What do you do when an install fails?
Read the message first. The app says what is wrong in a sentence, and most screens carry the button that fixes it.
| What you see | What to do |
|---|---|
| “… is not installed on this computer.”, with your engine’s name in front | Press Install. If it stops, Try again. Open the docs and Set up manually are the fallbacks. |
| Sign in needed | Finish the engine’s sign in in that agent’s terminal, then press Setup complete, start agent. |
| “Signing in needs the internet. Your work is safe on this machine. Reconnect and try again.” | Reconnect, then try again. Nothing is lost. |
| “Munder Difflin could not verify the secure connection to our server.” | Check the computer’s date and time. If they are right, ask whoever runs your network or security software to allow the address in the message, then press Try again. |
| “A folder name cannot hold a space.” | Press the button that reads Use and the suggested name. |
| A note that a port (a numbered door programs listen on) was in use and the session listens on another one | Nothing, unless something on this computer calls that port, such as a webhook. Then point it at the new number. |
| macOS will not open the app | Try to open it once, then System Settings, then Privacy & Security, then Open Anyway. |
If the message does not settle it, work up this list and stop at the first step that fixes it. This order is our advice from running the app every day; the app itself only offers the first step.
- Check again. Press Check again or Try again on the screen.
- Restart the agent. Close that agent and start it again.
- Reopen the app. Quit Munder Difflin completely and open it again.
- Restart the computer. The last resort, if step 3 did not help.
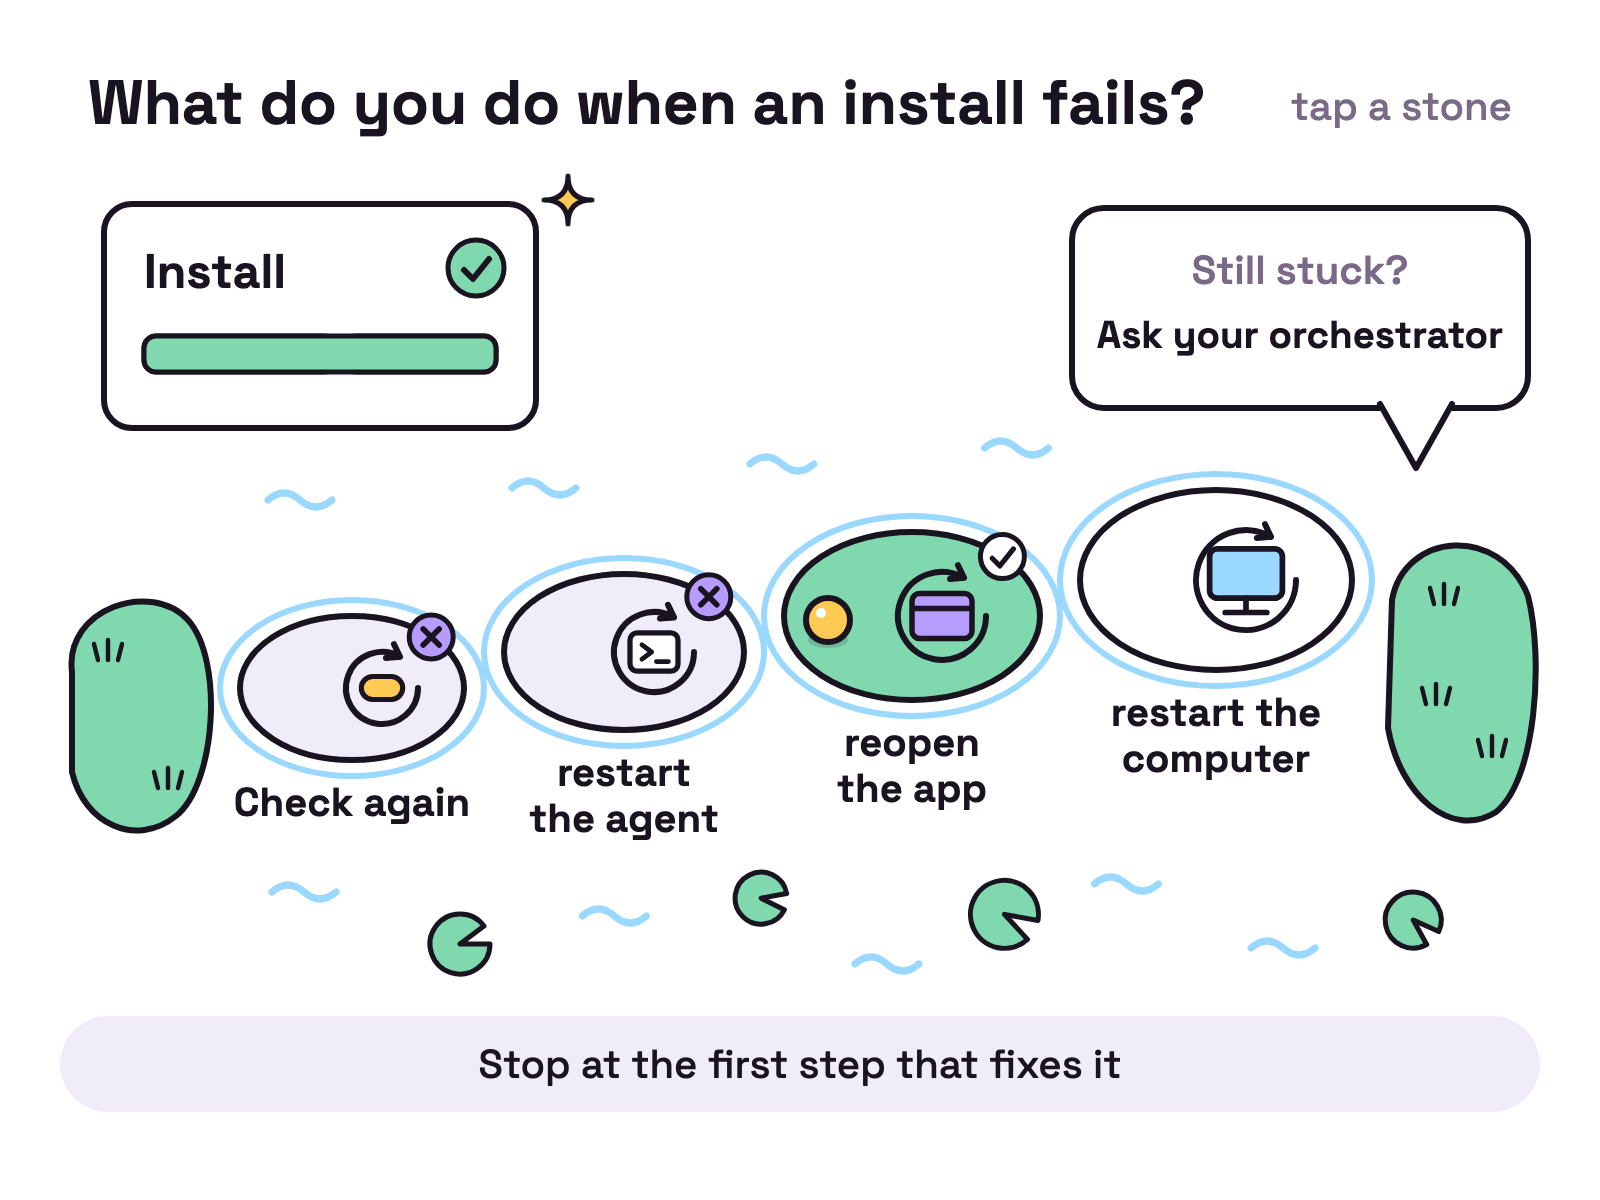
Still stuck? Ask your orchestrator: “The Codex install failed. Read the log and tell me why.” If the engine that failed is the one your orchestrator runs on, there is nobody to ask yet: run that engine’s lines from the terminal section above, then press Check again. The log is hive/log.jsonl inside your workspace folder, and a crashed agent’s raw output is in hive/crashes beside it.
Three things look like failures and are not:
- An agent reads “looping”. That is the circuit breaker warning an agent that repeats itself or spends fast. It is the app working.
- An agent’s session was cleared. By default the app clears a session when the agent’s work switches and the session has run for 60 minutes, to save tokens. A file called
handoff.mdin the agent’s folder carries the thread across. - Everything is slow with many agents. A computer with 8 GB of memory struggles with a large team. Run fewer at once.
What is the short version?
Seven steps, about twenty minutes.
- Pick one engine: Claude Code, Codex, or a free one.
- Download Munder Difflin and open it.
- Press Open browser to sign in and sign in.
- Name your workspace and your orchestrator.
- Press Continue with the free version.
- If the engine is missing, press Install, then sign in to it.
- Give your orchestrator a real job in a new empty folder, and watch.
FAQ
Do I need to know how to code to install Munder Difflin?
No. You type two or three commands, to install an AI engine and sign in to it, and you can copy and paste them. If you skip that, the app offers to install a missing engine for you the first time an agent starts.
Do I have to install an AI engine before the app?
No. Setup marks each engine Installed, Installs on first start or Not installed. An engine marked Installs on first start is installed in the agent's own terminal when you press Install, and the app installs Node first if that engine needs it. You still have to sign in to the engine yourself.
Do I need an account?
Yes. The first launch asks you to sign in through your browser, on the free version as well. The browser does not open by itself: press Open browser to sign in and sign in there. The screen usually moves on by itself; if it does not, paste the code the browser shows you into the app.
Which operating systems does Munder Difflin run on?
macOS, Windows and Linux. macOS is one universal build for Apple Silicon and Intel, signed and notarized by Apple. Windows 10 and 11, 64 bit, get a setup installer and a portable build. Linux gets a 64 bit AppImage.
Can these agents really change files on my computer?
Yes, and that is the point, so understand it before you start. An agent starts in the folder you give it and can read files, write files and run commands. It is not locked in there: it can reach anything your account can. Start with a new empty folder and watch what the agents do before you point one at anything you care about.
Is the free version a separate download from Pro?
No. There is one installer. The free version is the Classic view, and a licence unlocks the Pro view in the same app. On first launch, press Continue with the free version to reach Classic. Until Saturday 24 October 2026, Pro is free for everyone as part of the launch: sign in and the app opens Pro with no licence.